Capture the Moment

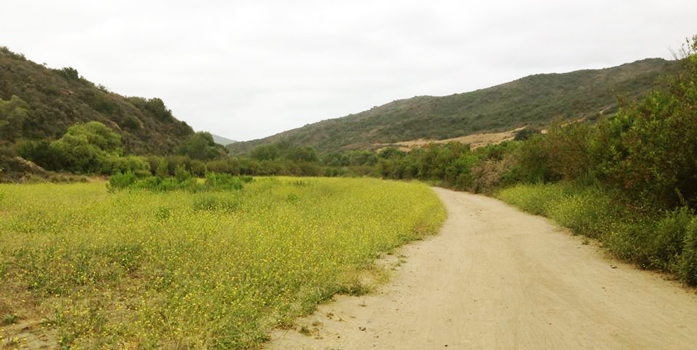
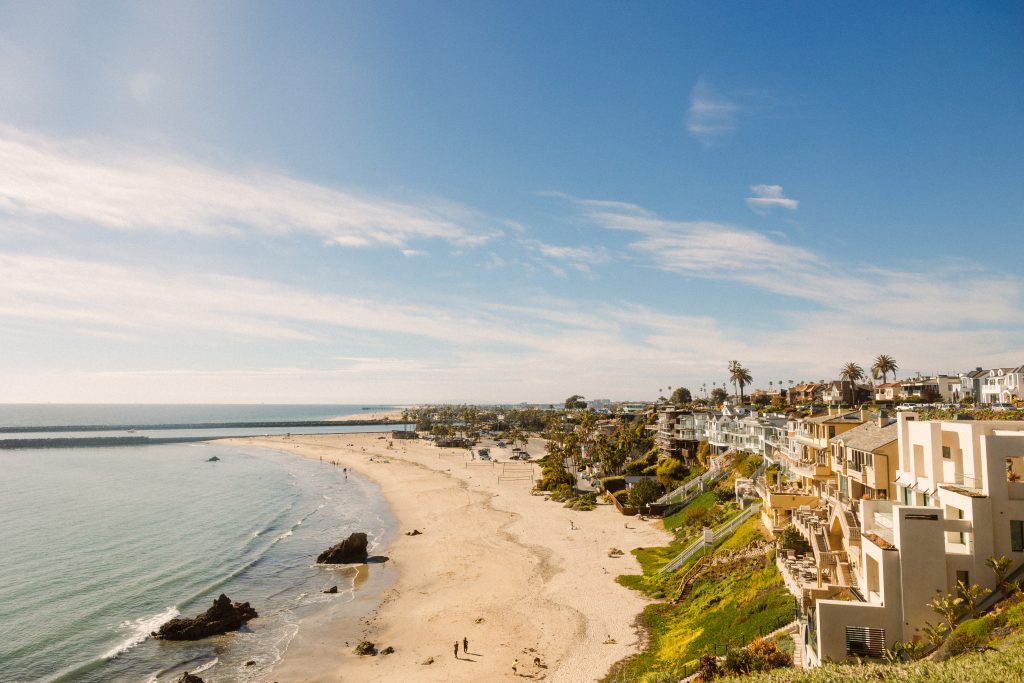
When visiting Newport Beach this summer, exploring its beautiful beach coves, flowering park fields, and scenic wilderness trails is a must for nature enthusiasts. The next best thing to soaking in these picturesque settings is to make the memory a lasting one — with a photograph.
Maybe not everyone is born with an eye for framing that perfect picture, but with a bit of guidance, you too can capture the moment just right. Here, professional nature photographer Osceola Refetoff shares his top tips on how to take the best photo possible, and create your own Newport Beach keepsake.
1. Shoot in good light: The most beautiful light is first thing in the morning, just before sunset and right after it. It’s also the most challenging because the light is low (big contrast between light and shadow). Shield the sun from hitting the front of your lens directly by shooting in crosslight (sun is at the left or right) or using your subject to block the light when shooting towards the sun.
2. Use a polarizing filter: Digital processing software has made the use of many traditional photo filters irrelevant. The filter that’s most useful to outdoor landscape photographers is this a polarizing filter, which will give you detail, contrast and sharpness by only allowing light to come from one angle and removing stray light. It really makes a picture pop.
3. Put something interesting in the foreground: This will make your picture an original, especially in a place that’s been shot a million times. It also shows the scale of what you’re shooting. Put a friend in the foreground and the shot become yours — it’s unique an special. If you’re alone, use a rock, waterfall, stream, leaves, animals, tent/equipment, a road sign — anything to make it more interesting.
4. Inclement weather makes for dramatic skies: Cloudy beach days may not be the best for sunbathing, but they’re ideal for taking great photos. It’s very hard to get a good shot in the middle of the day on a cloudless day. Take your camera outside when it’s cloudy or something interesting is happening in the sky.
5. Consider black and white: It’s a way of setting your photos apart from others, especially those taken in popular destinations. Not many people use black and white these days. Beginners should flip the setting to black and white on their LCD screen—it’s helpful to get visual feedback when learning to shoot in black and white.
6. Include a person in your composition: Beyond using “something” in the foreground, using a person adds scale to the background and gives the viewer a feel for what it’s like to actually stand there. That’s very powerful for people.
7. Wander the trails less travelled: Getting off the beaten path will give you photo opportunities others haven’t gotten. A secret gem in a popular place is far more interesting than the popular landmarks that have been photographed over and over.
8. Use a tripod: You’ll never get the sharpness you will with a tripod; it keeps the camera super steady. It also slows you down and makes you think more about the composition you’re forming and also allows you to stand by and wait for new components to enter the frame and recreate shots with different elements. It’s best to first find the shot you’re looking for with a hand-held—crouch down, check the best angle, play with the composition—then set up the tripod.
9. Shoot in aperture priority mode: This is indicated by A or Av on your camera menu and allows you to control how much light you let in, with a quick turn of the dial. It’s a great exposure-control method for all fast-moving photographers and a way to encourage beginners to take more manual control over the camera while they’re learning to create compositions.
10. One “great” shot is better than a dozen “good” ones: When you’re learning photography, it’s good to take lots of shots. As you learn what works and develop a more keen eye for the craft, you’ll get better at figuring out what shots of worth sticking around for. Capture those.


